
1- Including the Kernel Files in Jetson OS Image
2- Installing the Jetson OS
3- Installing the Jetson SDK Components
Download Nvidia SDK Manager
https://developer.nvidia.com/drive/sdk-manager
(Alternative) https://drive.google.com/file/d/149dG8AKdeF-fLJYwaIkmKIWpSomDgYgy/view?usp=share_link
In this tutorial, we will install JetPack-5.1 for DSBOX-NX2. First, we will include our Image, DTB & NVGPU kernel files in the Jetson OS image. Then, we will install the Jetson OS into the DSBOX-NX2. Finally, we will install the Jetson SDK components into it.
Attention: If you want to transfer the root file-system to an external drive, please format it before starting this blog post.
Open the NVIDIA SDK Manager. Select “JetPack 5.1” for Target Operating System and “Jetson Xavier NX modules” for Target Hardware (The “Host Machine” components are not required). Then, continue to Step 2.
Choose only “Jetson Linux”, accept the terms & conditions and continue to Step 3.

The SDK Manager will ask the username’s password. Fill it and continue.
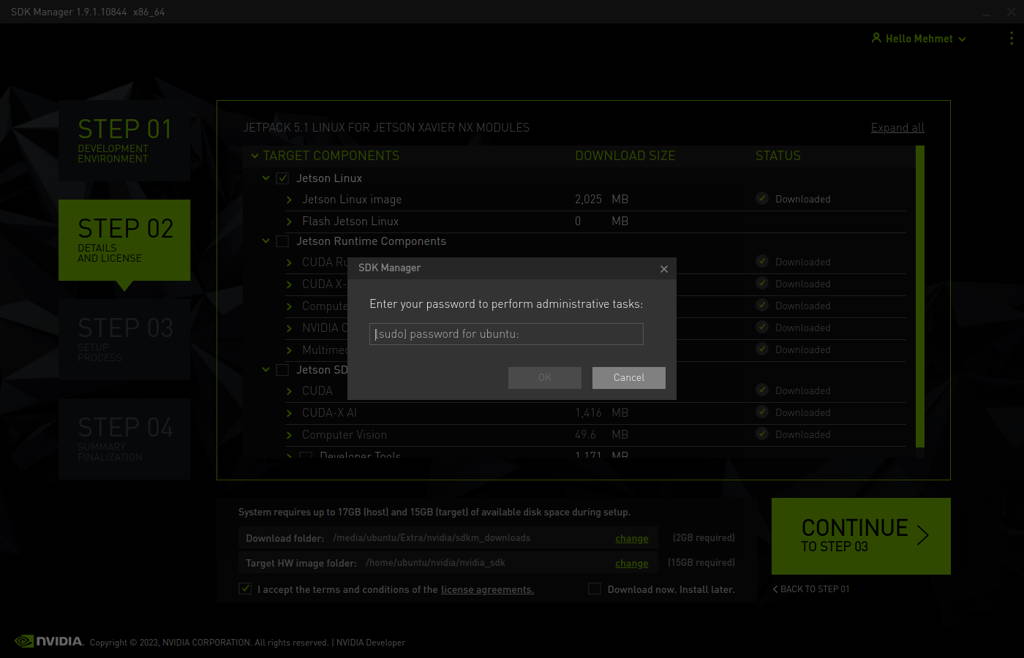
A few seconds later...

After the Jetson OS has created, the SDK Manager asks the Jetson module’s flashing style. Just skip it and exit from the SDK Manager.


Open the target HW image folder. (~/nvidia/nvidia_sdk/JetPack_5.1_Linux_JETSON_XAVIER_NX_TARGETS/Linux_for_Tegra/)